- Open The Case
- Unplug the CPU Fan
- Remove Fan and Heatsink
- Remove CPU Cover
- Remove CPU
- Store the CPU
- Replace the CPU Cover
- Reattach Fans
- Replace Panel
We know you’ll need far more details than just these steps so without any further ado, let’s get into how to remove a CPU from a motherboard.
If you want suggestions for the best CPU’s, we have here the top 5.
Before Removing Your CPU
Before you remove the CPU from your motherboard (see also how to test a motherboard without a CPU), there are some precautions you should take to ensure both your safety and the safety of your electronics:
Every PC, whether you built it yourself or you bought it pre-built, contains a certain degree of risk when it comes to getting your hands inside and removing/adding components. Taking the proper precautions will ensure that the removal process prevents damage to your CPU and your PC as a whole.
Before you start fiddling with your PC, be sure to do the following:
Deactivate All Sources of Power
PCs are essentially an amalgamation of electronic components that require electricity to function. Thus, there are several sources of power throughout your PC that might electrocute you if you neglect to deactivate them. To avoid this, you’ll want to:
- Power off your PC using the power button
- Unplug the power supply from the PC and wall
- Place PC on a table or away from active electrical currents
Some of this may seem like overkill, and it’s unlikely that the electricity used to power your PC is a high enough voltage to cause serious injury, but even a small shock can spark a flame or ruin other components in your rig.
Consider Antistatic Implements
If you built your PC yourself, you probably noticed that your CPU and perhaps other components were delivered in antistatic bags. Those aren’t just for show; CPUs are extremely delicate and if your CPU comes into contact with any other item with an electrical charge, it could cause serious damage to your chip.
Damage from electrostatic discharge is usually not visible to the naked eye, but if it occurs to your CPU and you install it in another PC, you could do damage to the rig as a whole. To be safe, it’s recommended that you invest in at least one of the following before dismantling your PC and handling its components:
- Antistatic mat
- Antistatic gloves, or
- Antistatic wristband (easiest to use and store)
Nothing is worse than finally upgrading your CPU to handle more rigorous tasks and then destroying it when installing it, so take the proper precautions to avoid the risk altogether.
Removing Your CPU
Now that you’ve laid the groundwork for safely removing your CPU, it’s time to get your hands (figuratively) dirty and get it done. If you also want to test your motherboard after you remove your CPU, we have a guide here for you.
When following the steps below, be sure to handle all components with your full attention. Keep your touch light and your movements slow to avoid damaging any of your components.
Without further ado, let’s begin:
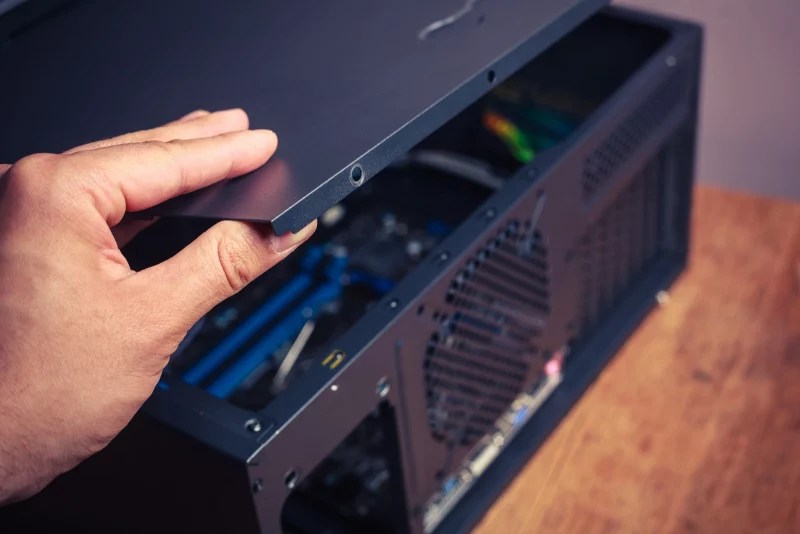
Step 1: Open the Case
Not all cases are built the same, but you can typically remove any panel with one or two steps. Look for 2-4 small screws set into the corners of the case, and remove them. If there are no visible screws, your case might have a button or two that you can press to remove the panel hassle-free.
Some PCs have fans built into the panel, so when you get the panel separated from the case, be sure to check that nothing is attached before pulling it off. In the event that there is a fan attached, simply note the socket it is plugged into and unplug it from your motherboard.
If you can’t figure out how to remove this panel without forcing it, consult your manual or the FAQ on your case manufacturer’s website.
Step 2: Unplug CPU Fan
After removing the side panel from the case, locate and unplug the fan built into your motherboard. Most builds come with only one fan situated directly on the motherboard, but if there are several, take note of their locations and disconnect them all (and use Speedfan to keep an eye on how they’re running).
If your PC fan will make rattling noises, we have an article here to help you know the causes and how you can fix it.
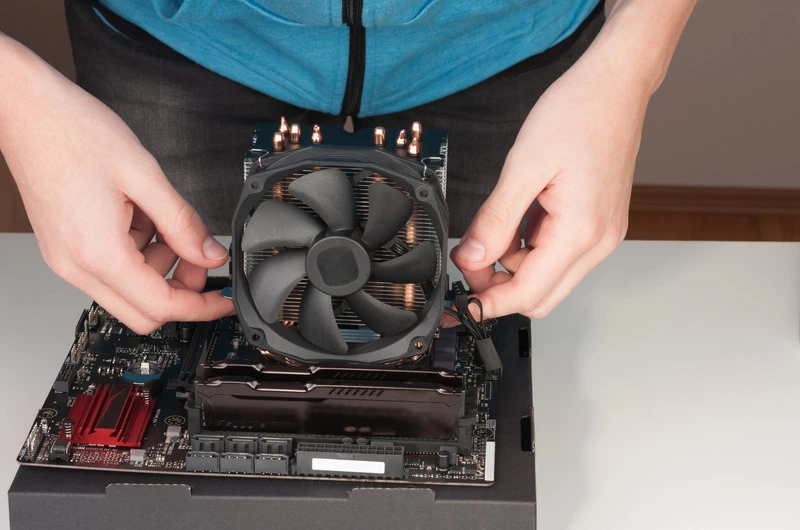
Step 3: Remove Fan and Heat Sink
If your fan and heat sink are attached to the motherboard with legs, simply turn each of the legs and gently lift the fan and heat sink off of your motherboard. You can either do this with your fingers or a flathead screwdriver, depending on the model.
Some fans and heat sinks are attached with screws, in which case you’ll need to loosen each screw and then lift them off.
We also have an article here about what are motherboard standoffs screws that you might be interested in.
Step 4: Remove CPU Cover
Most covers can be removed easily by removing the latch and lifting the cover off of the CPU. It’s important that you use a light touch when doing this to avoid putting pressure on your CPU, as this could damage the pins or the casing that holds it in place.
Step 5: Remove CPU
Once you’ve removed the cover, you can lift the CPU directly out of its socket. Hold it by its edges, and lift straight upwards; trying to slide it or loosen it horizontally will damage the pins.
If you are met with resistance, try changing the angle you are pulling at. CPUs undergo high temperatures and when the processor has been installed for a long time, it can shift slightly from the angle it was placed at.
Step 6: Store The CPU
You’ve successfully removed your CPU, and now it’s time to ensure its protection in storage. Even if you intend to install it in another PC, it’s recommended that you store it safely until then.
To do so, place the processor in an antistatic bag (ideally, the original bag that it came in). If you do not have its original packaging, either purchase an antistatic bag or take your chances with a normal sandwich bag.
If you store it in a bag without antistatic properties, be sure to store the bag away from anything that could carry an electrical charge. The bag will at least protect it from dust, which minimizes the risks of damaging it.
Step 7: Replace CPU Cover
If you are not immediately replacing the CPU with a different one (here are some helpful guides to reference when purchasing a new processor), be sure to reattach the cover to the motherboard. This will prevent any dust or other airborne particles from finding their way into the socket.
Step 8: Reattach Fans
If you installed a new CPU to replace the old one, reattach your fan and heat sink (or attach your new fan and heat sink, if provided with your new CPU) in the same manner that you removed them.
Step 9: Replace Panel
Once you have resituated all the internal components of your PC, replace the cover immediately to prevent additional dust and particles from entering the interior of your case.
Optional Precautions
While the above steps will ensure a safe CPU transfer on the physical level, there are some precautions you can take to avoid any data loss or BIOS issues that may arise once you insert your new CPU.
If you follow these precautions, be sure to do so before unplugging your power source and CPU.
Update Your PC’s BIOS
Updating your BIOS before changing the CPU ensures that your new CPU can be installed without any software glitches or other unforeseen hitches.
Each motherboard has its own BIOS (Basic Input/Output System) which typically only needs updating when making big changes to the PC. If your CPU upgrade requires a new motherboard (for motherboard information to consider when upgrading, visit this page), you can disregard this step entirely, as you’ll need to install a new BIOS.
Every BIOS is different, as newer generations of motherboard have integrated their BIOS into Windows (here’s how to update your BIOS through Windows) and older generations are manual downloads. If you don’t know how to update your BIOS, search for your particular motherboard’s BIOS information on Google and follow those steps for updating.
Back Up Important (Or All) Data
While it is not a common occurrence, fiddling with the interiors of your PC can theoretically cause an issue in your hard drive, resulting in a loss or corruption of data. Again, it is unlikely that this will happen, but nobody has ever regretted being on the safe side.
Upload any important data to an external data drive, such as a USB flash drive or a cloud service, before you start pulling components out of their sockets. You can also find out how to back up data with Windows from this page.This will ensure that, in the event that something goes wrong, you have the data you need stored elsewhere and can place them back on your hard drive after resolving the issue.
In Conclusion
Hopefully, you’ve just turned what seemed like a daunting task into a memorable achievement, and can get on to enjoying the improved functionality of your PC. Although removing a CPU from its motherboard is a tricky, delicate challenge, it becomes much simpler when you approach it with attentiveness and break it down into manageable steps.
Now that you know how to safely remove a CPU, maybe you are thinking now what’s the best CPU and GPU combination for your PC worry no more cause we have an article for that. You might also be interested if you can upgrade a laptop CPU and how to do it.

